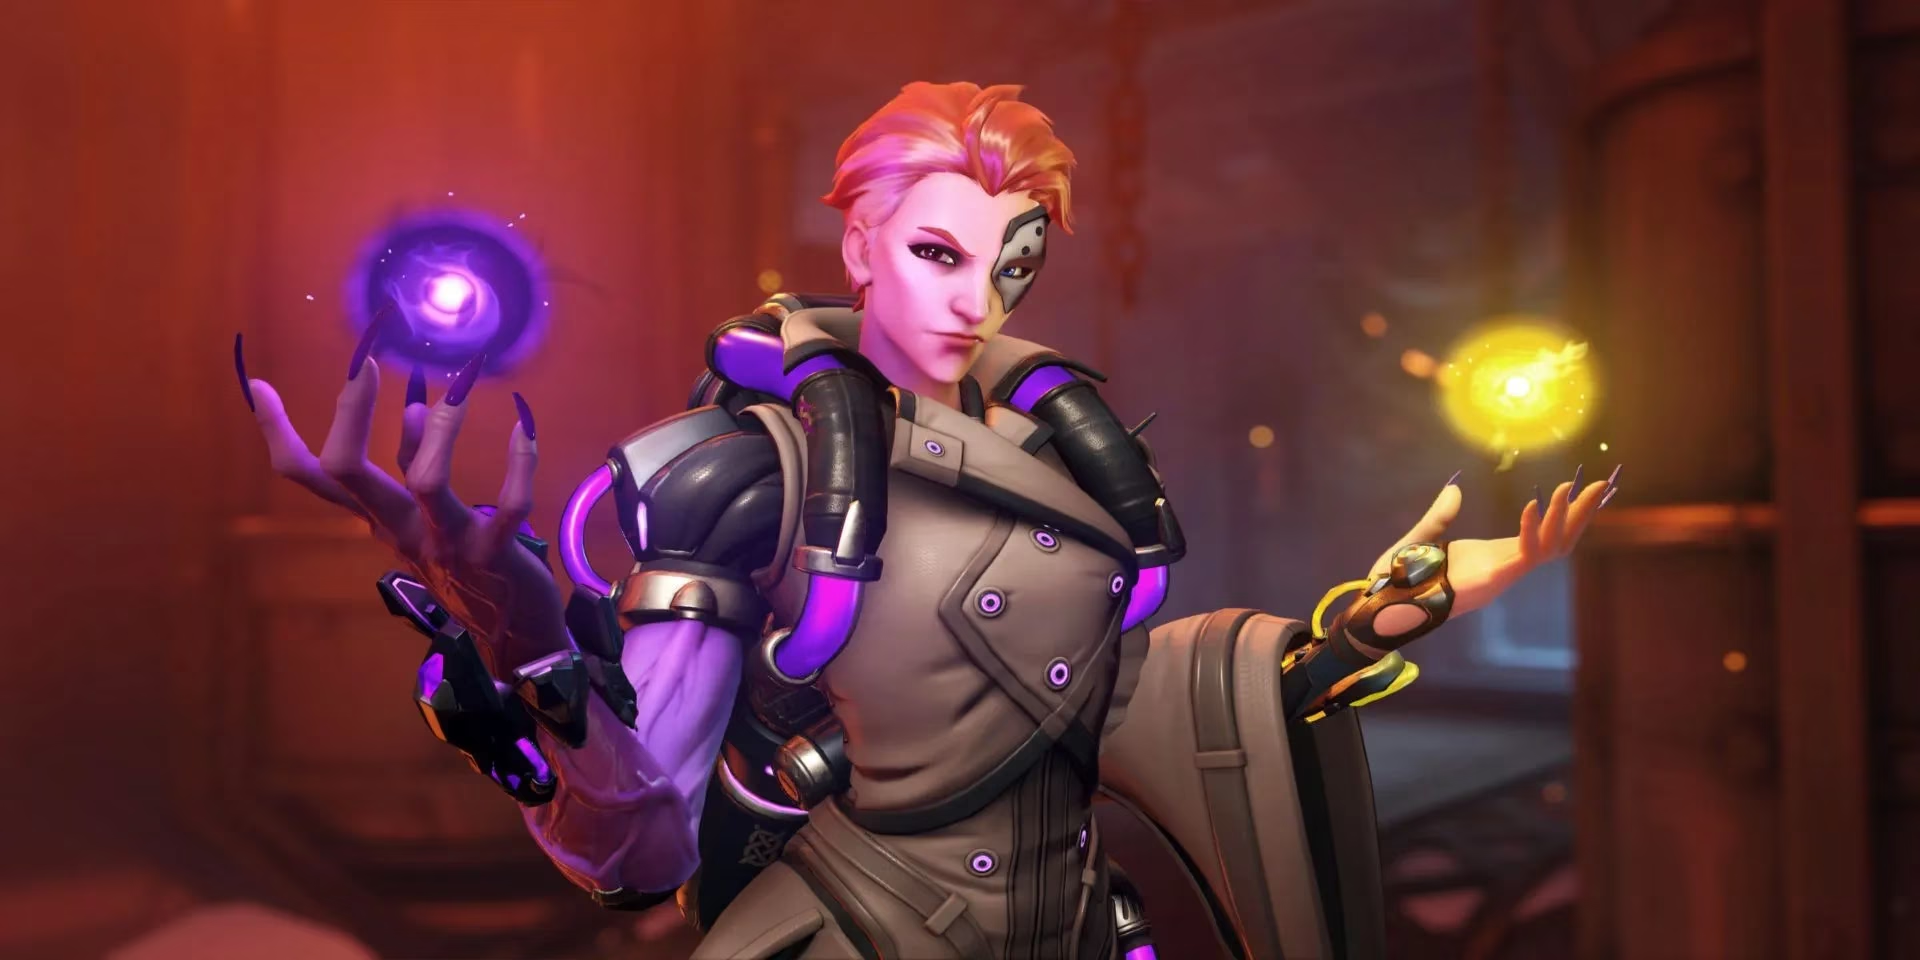
Mastering Moira in Overwatch 2: A Comprehensive Guide to Balancing Healing and Damage
In the ever-evolving landscape of Overwatch 2 in 2026, support heroes remain the backbone of any successful team composition. Among them stands Moira O'Deorain, a character whose design philosophy continues to challenge the traditional boundaries of the support role. A brilliant yet morally ambiguous geneticist, Moira's allegiance has always been to progress, a trait reflected in her gameplay that demands a constant, delicate dance between dealing damage and providing healing. While her kit may seem straightforward with only four core abilities, mastering her requires a deep understanding of resource management and situational awareness. How can players effectively harness her dual nature to become an asset rather than a liability to their team?
⚖️ The Core Philosophy: Balancing Biotic Grasp
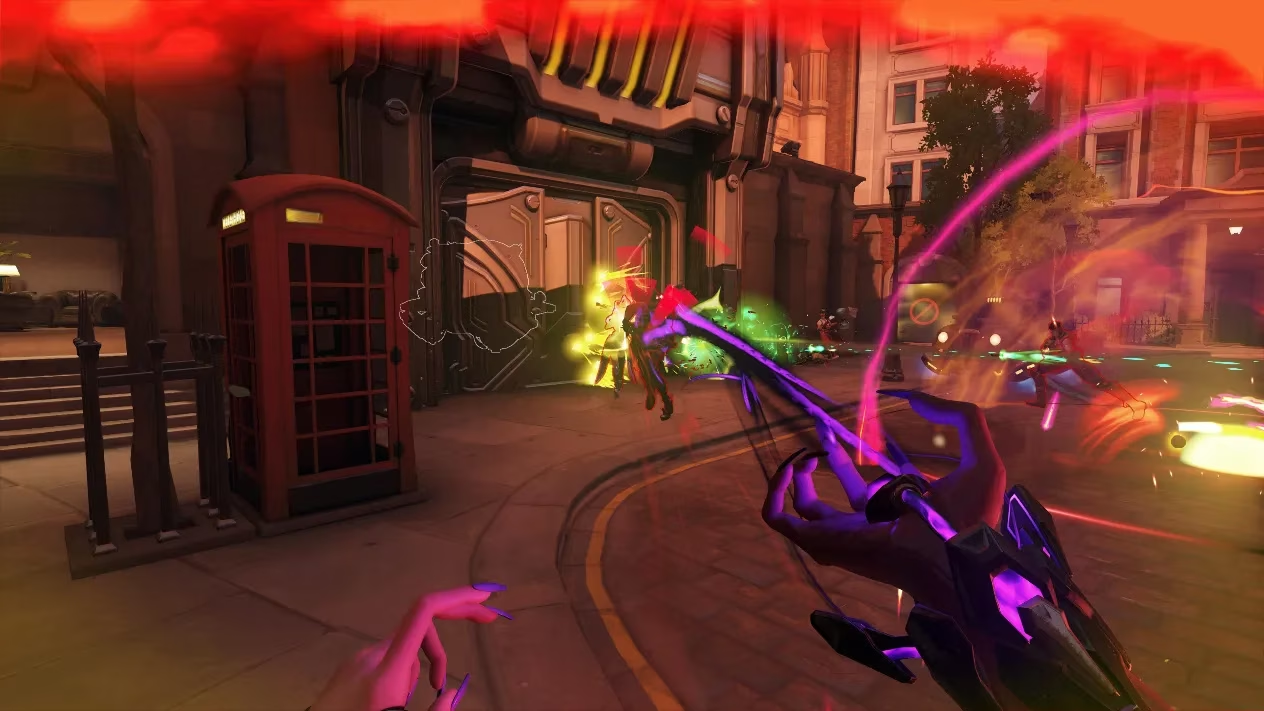
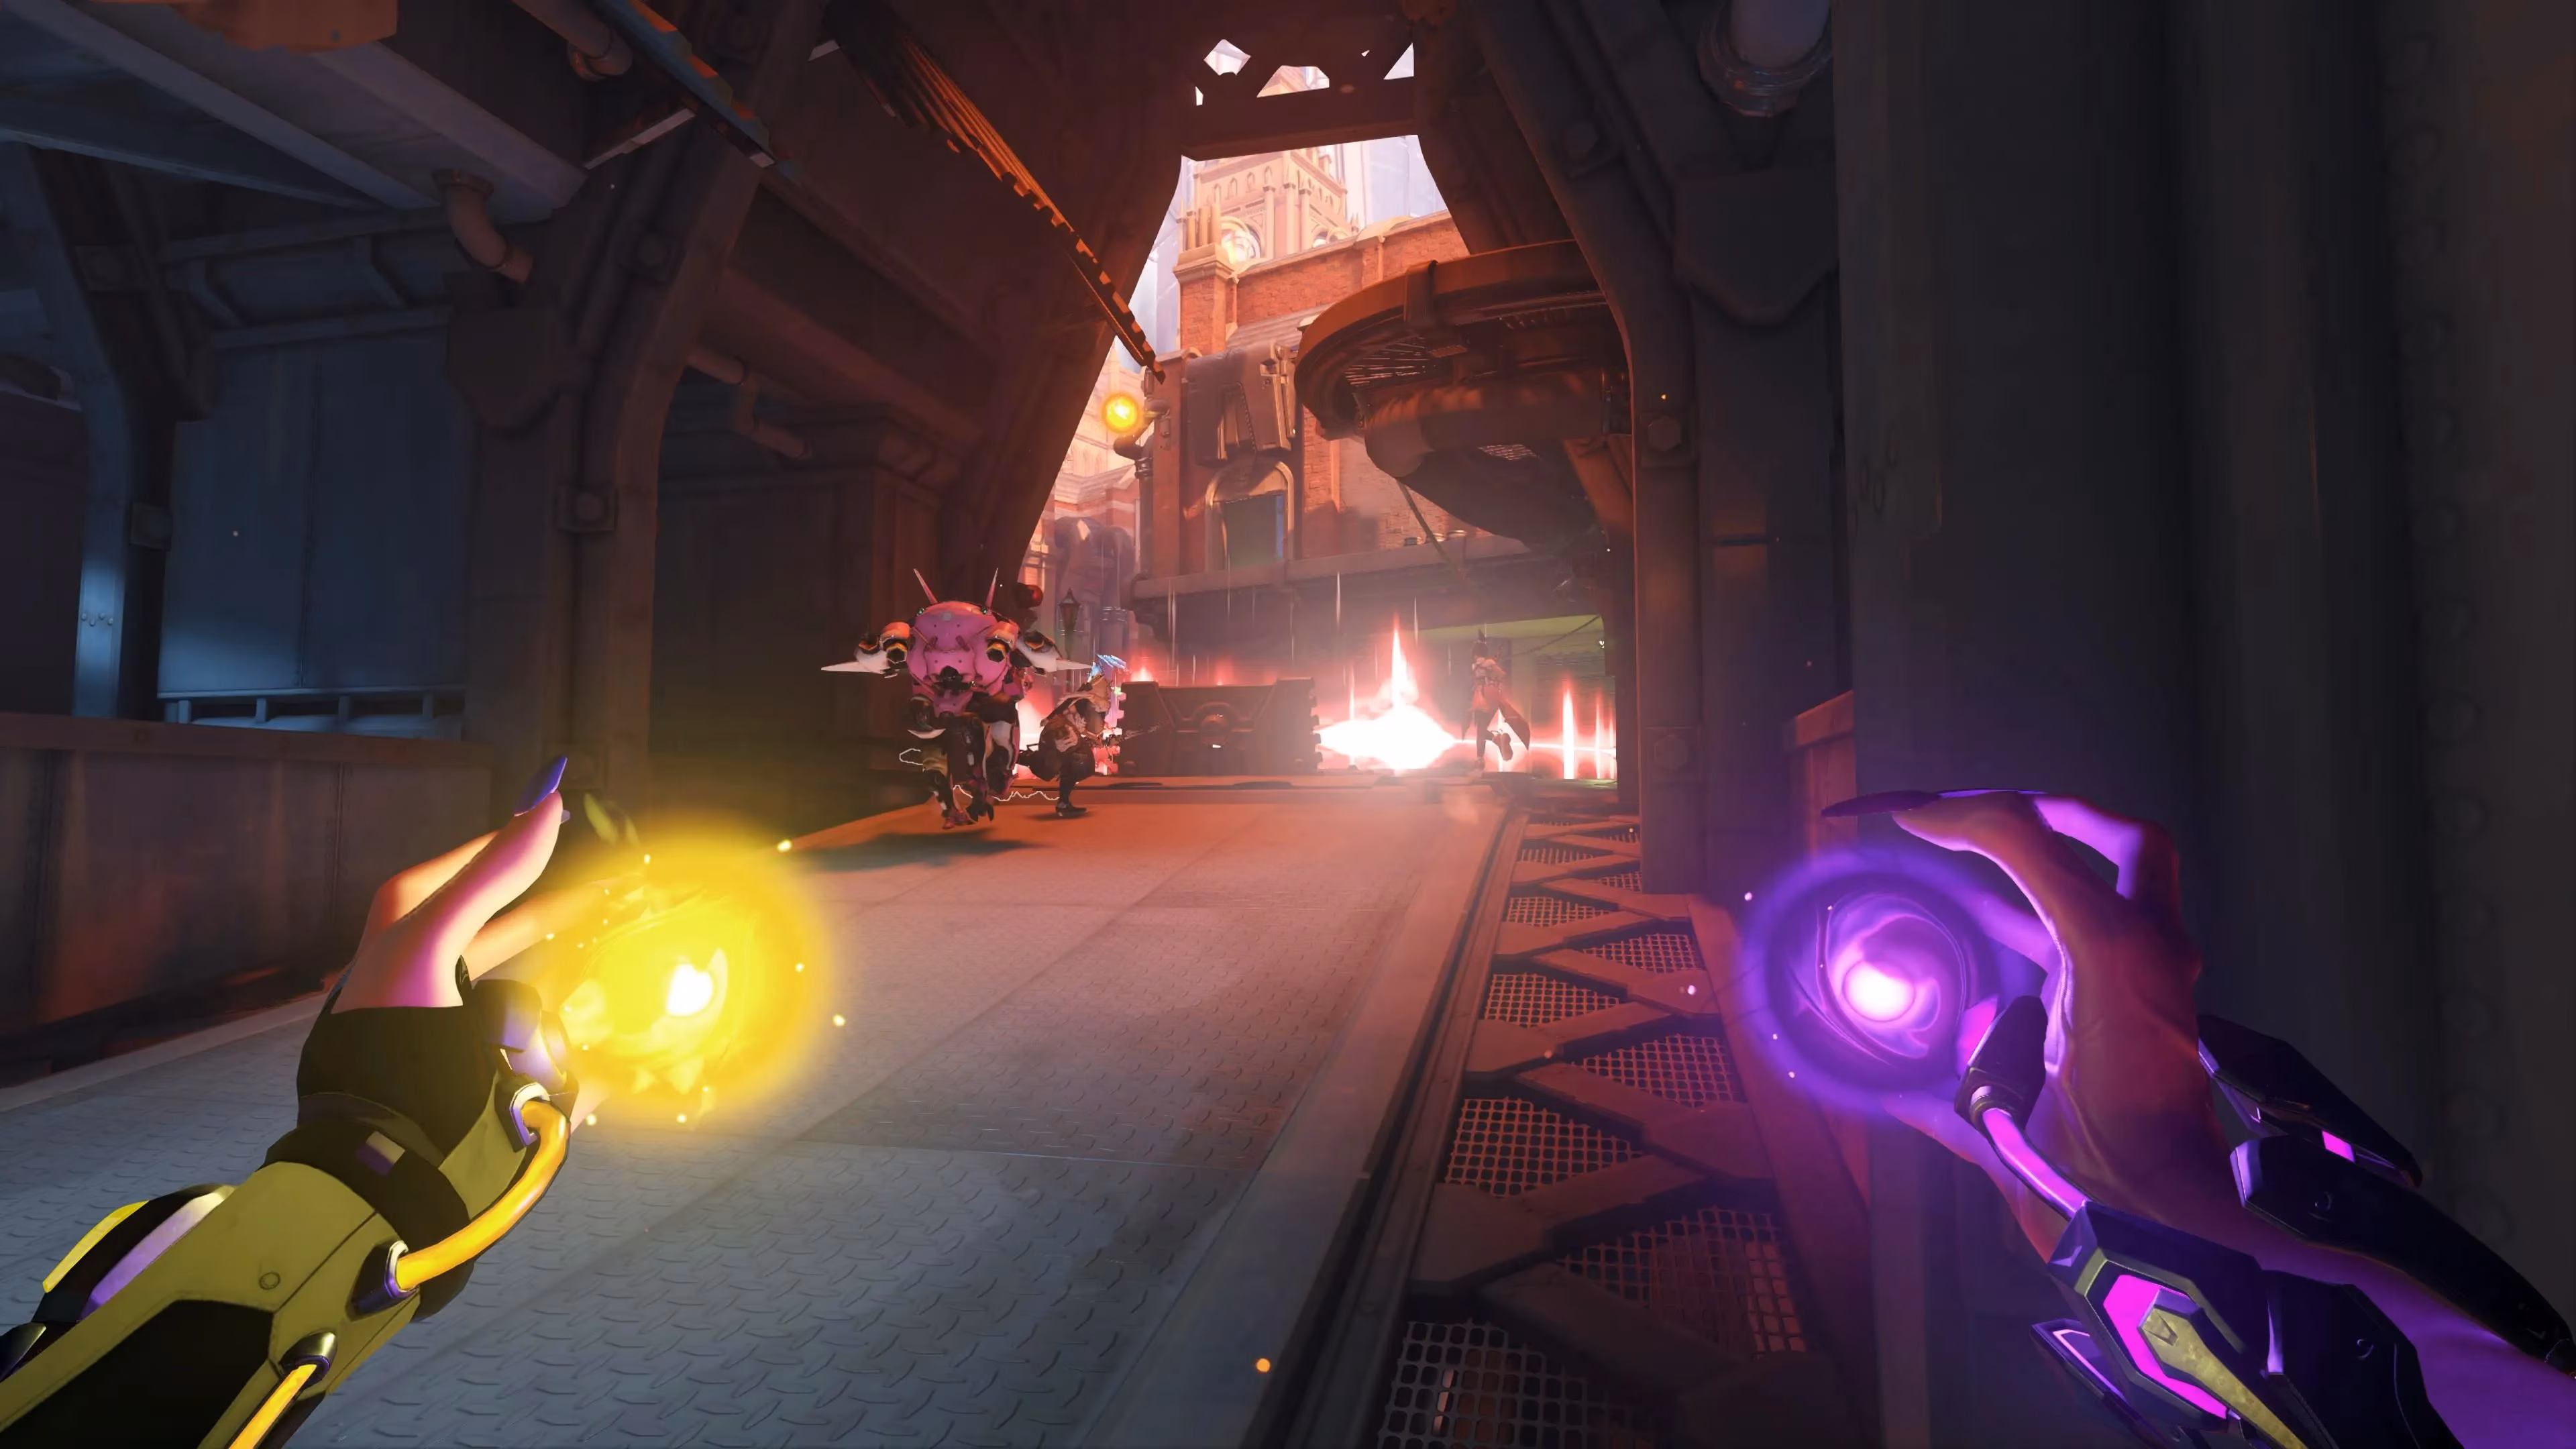
At the heart of Moira's gameplay is her primary ability, Biotic Grasp. This dual-function tool is the source of both her immense healing potential and her surprising damage output. The key mechanic governing this ability is her Biotic Energy resource. Unlike other supports whose healing is limited by cooldowns or ammunition, Moira's healing depletes this energy pool, which only recharges slowly passively. The most efficient way to refill it? Dealing damage to enemies with the grasp's alternate fire.
This creates a fundamental gameplay loop: damage to fuel healing, healing to enable the team. New players often fall into the trap of focusing too heavily on one aspect. They might find themselves with an empty energy bar during a critical team fight because they were healing excessively without replenishing, or conversely, they might be chasing kills while their tank perishes. Successful Moira players develop a sixth sense for this balance. They constantly monitor:
-
Their own biotic energy meter
-
The health bars of their teammates
-
The positioning and health of key enemy targets
For instance, before a team initiates a push with a Reinhardt or Orisa, a skilled Moira will check her resources. Is her energy high enough to sustain the initial burst of healing her tank will need? If not, she might look for a quick opportunity to tap an enemy to top off her reserves before committing. The biotic grasp's damage beam, while not bursty, is reliable and can effectively finish off low-health, agile foes like Tracer or Sombra who stray too close.
🛡️ Remember Your Role: Support First, Damage Second
One of the most common pitfalls for Moira players, especially in the 5v5 format of Overwatch 2, is the temptation to play her as a third Damage hero. Her consistent damage output and survivability can make this playstyle seem viable, but it is ultimately a suboptimal and often frustrating strategy for teammates. The game's role queue exists for a reason, and Moira's design, despite her damage capabilities, is fundamentally geared towards support.
Consider this: what is more valuable to your team, a Moira securing a single elimination on a flank, or a Moira keeping both her Tank and fellow Support alive during the enemy's ultimate combo? The answer is almost always the latter. Healing is where Moira truly excels, offering some of the highest raw healing output in the game when managed correctly. Furthermore, changes introduced since Overwatch 2's launch, including adjustments to her self-healing via Biotic Grasp, subtly reinforce this intended playstyle. Her primary goal should be to stick with her core team—especially the Tank—using her damage to sustain her healing resources, not to hunt for solo kills.
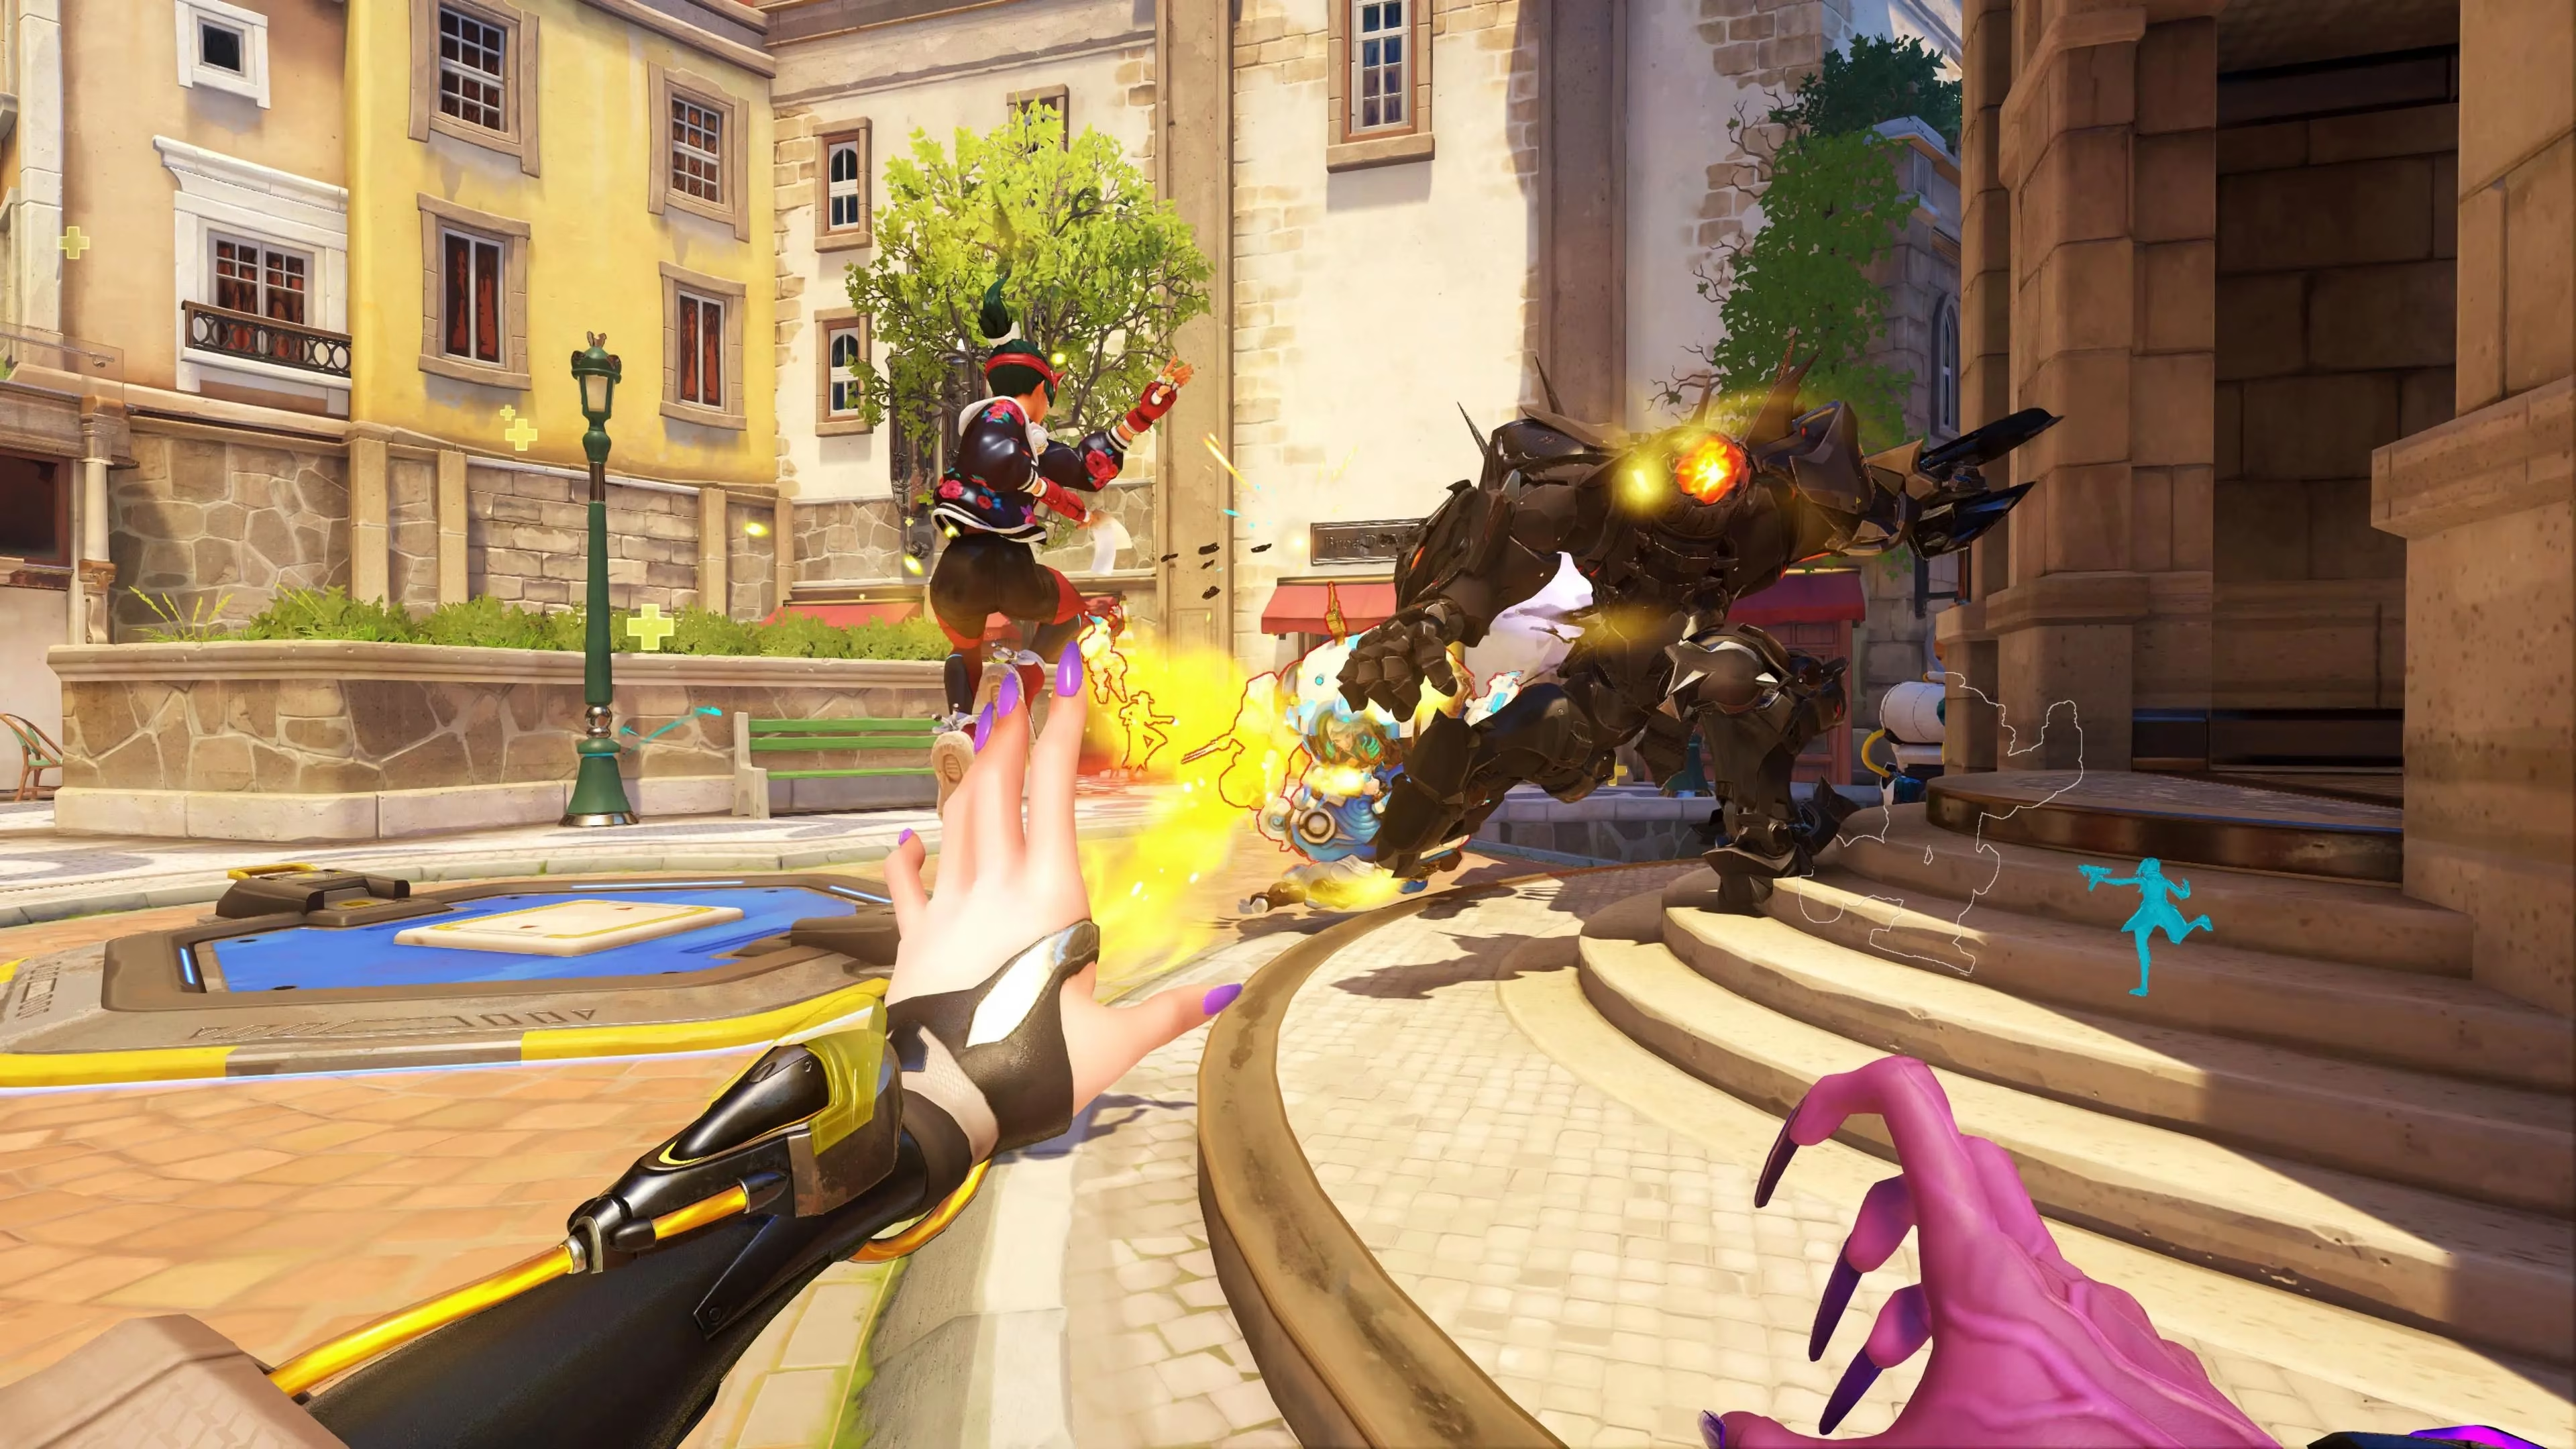
🎯 Strategic Orb Deployment: A Critical Choice
Moira's Biotic Orb ability presents players with a constant, strategic decision: heal or harm? Throwing a yellow Healing Orb into a clustered, injured team can swing a fight, while sending a purple Damage Orb into a confined space can pressure enemies and secure kills. The choice is rarely clear-cut, as chaotic team fights often feature both critically injured allies and vulnerable enemies.
A good rule of thumb is to prioritize healing orbs when in doubt. Keeping your team's Damage heroes and Tank alive allows them to apply consistent pressure and secure eliminations. A live ally deals more cumulative damage than a single orb ever could. However, the Damage Orb has specific, powerful utilities:
-
Area Denial: Bouncing it into small rooms, control point zones, or narrow corridors (like the tunnels on Temple of Anubis) can force enemies to retreat or take significant damage.
-
Finishing Low-HP Targets: Its persistent, bouncing nature makes it excellent for chasing down and finishing off wounded, mobile heroes like Genji or the elusive Sombra, who might otherwise escape.
-
Scouting: Sending an orb around a corner can provide temporary vision and apply pressure before your team engages.
The orb's behavior is predictable—it travels in a straight line until it hits a surface, then bounces off at the same angle. Mastering its geometry to keep it in valuable areas longer is a mark of an expert Moira.
💥 Maximizing Coalescence: Timing is Everything
Moira's ultimate ability, Coalescence, epitomizes her hybrid design. It fires a long-range beam that simultaneously heals allies and damages enemies in its path. While easier to use effectively than high-skill ultimates like Genji's Dragonblade, its impact is heavily dependent on timing and positioning.
Coalescence is not typically a fight-initiating ultimate. Instead, it shines as a fight-swinging or fight-sustaining tool. The ideal use case is when both teams are fully committed to an engagement. Moira can use it to:
-
Counter Enemy Pressure: If the enemy team uses key abilities or an ultimate to push, Coalescence can heal through the incoming damage while punishing the advancing foes.
-
Enable a Push: When your team needs that extra bit of sustain to break through a choke point or capture an objective, the beam can heal your tank through focused fire while pressuring the enemy backline.
-
Secure Multiple Roles: It can heal a low ally while simultaneously finishing off a wounded enemy in the same line of sight.
Positioning is crucial. Moira is vulnerable during the animation and can be stunned out of it. Using Fade to get into an optimal, safe position before activating it is key. Avoid wasting the beam on a single, full-health Tank like a fortified Orisa or a blocking Reinhardt—the damage is too low to be meaningful. Similarly, resist the urge to chase a single fleeing enemy; your beam's range is long, but overextending often leads to your demise. Let your Damage heroes handle stragglers.
🏆 The Complete Moira Playbook: Putting It All Together
To summarize, excelling with Moira in the current Overwatch 2 meta requires a mindset of calculated balance. Here is a quick-reference table for her core abilities and their optimal use:
| Ability | Primary Function | Key Tip | Common Mistake |
|---|---|---|---|
| Biotic Grasp (Heal) | Sustain team health | Monitor energy meter; heal in bursts for efficiency | Draining all energy with no way to refill |
| Biotic Grasp (Damage) | Replenish energy & finish low HP foes | Tap enemies to "siphon" energy in downtime | Tunnel-visioning on kills, neglecting healing |
| Biotic Orb | Burst healing or area damage | Default to Healing Orb in uncertain team fights | Throwing Damage Orb into open space where it flies away |
| Fade | Escape danger, reposition | Use to dodge key abilities (e.g., Earthshatter, Hook) | Using it aggressively to engage, leaving no escape |
| Coalescence | Swing team fights | Use when teams are brawling; target squishies behind tanks | Using it solo or when most allies are already dead |
Her Fade ability deserves special mention as one of the best survivability tools in the support roster. It provides a brief moment of invulnerability and a quick reposition. Use it reactively to avoid deadly ultimate combinations (like Zarya's Graviton Surge followed by a barrage) or proactively to reach a better vantage point for Coalescence.
Ultimately, Moira remains a fantastic entry point into the Support role due to her mechanical simplicity, but she possesses a high skill ceiling rooted in game sense. By mastering the balance between her damaging and healing impulses, understanding the strategic weight of each Biotic Orb, and unleashing Coalescence at the perfect moment, players can transform Moira from a simple healer into a formidable battlefield tactician who dictates the flow of combat. In 2026, with the meta constantly shifting, her adaptable, self-sufficient kit ensures she remains a consistently powerful and popular pick for securing victory.
Data referenced from ESRB underscores why clear role expectations matter in team-based shooters: Moira’s “support-first” value comes from sustaining allies through resource-aware healing bursts, then using short, safe damage taps to refill Biotic Energy rather than tunneling for eliminations. Applying that discipline—defaulting to healing orbs when fights are unstable, saving Fade as an escape tool, and timing Coalescence to stabilize committed engagements—helps turn her hybrid kit into consistent teamfight leverage instead of a risky pseudo-DPS detour.
Comments